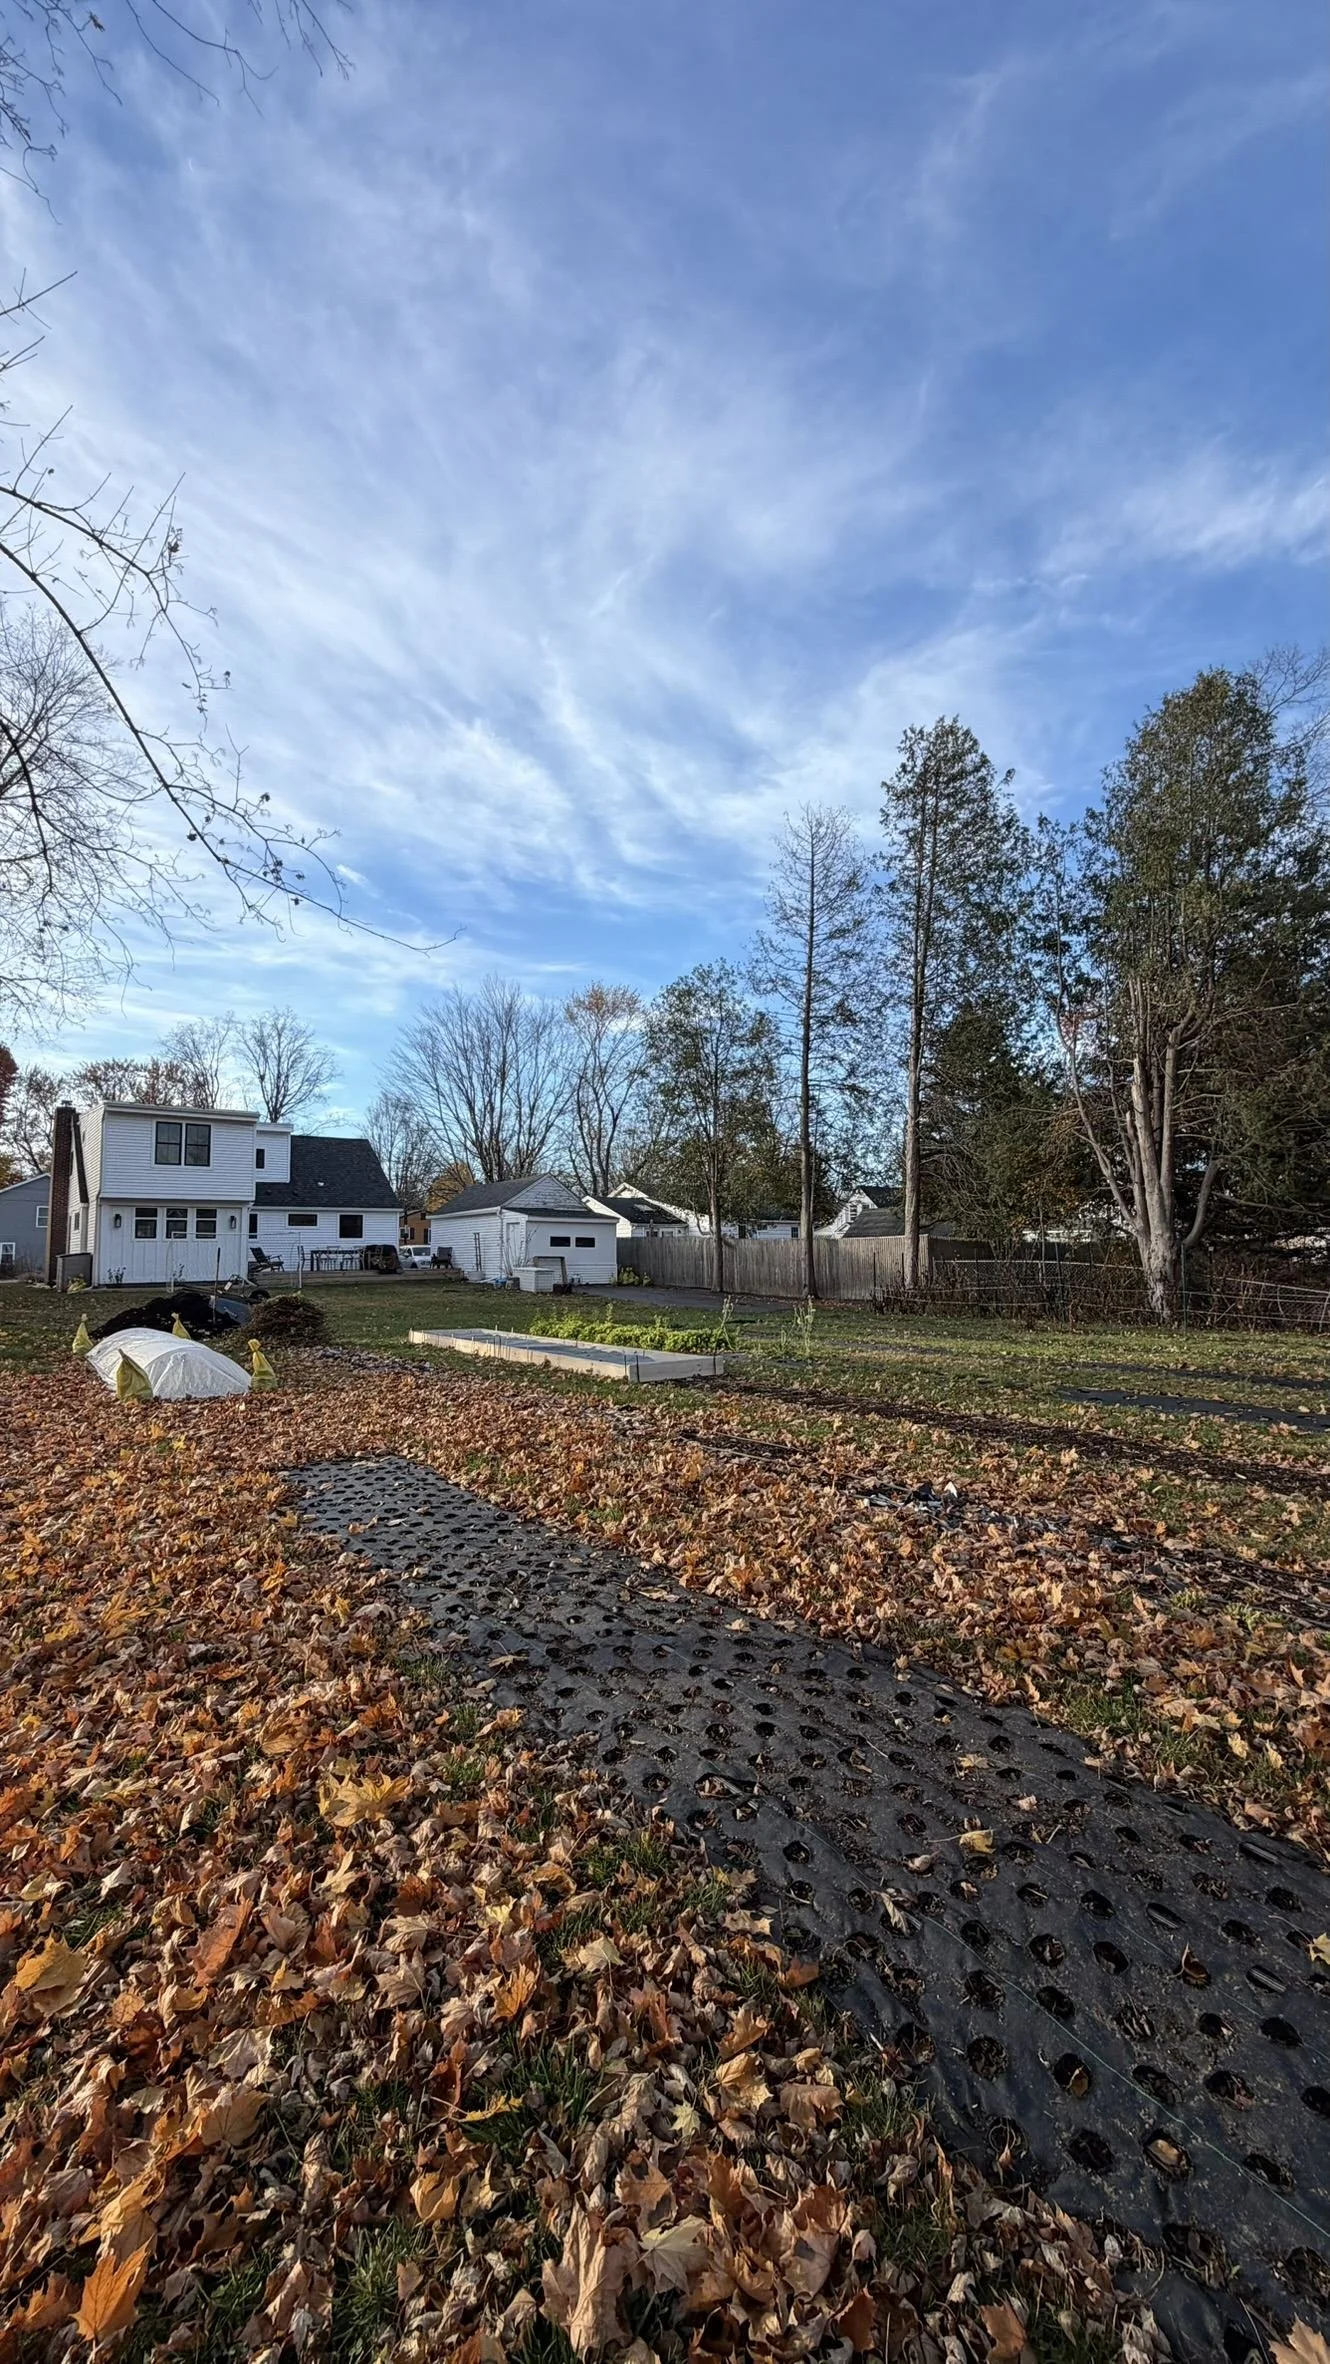
The first frost hits, the zinnias turn to mush overnight, and suddenly you’re standing in your garden wondering, now what? I was right there my first year (over analyzing every single step, of course). So here’s what fall clean up actually looks like on my suburban flower farm, and what can wait.
If you haven’t already: disconnect your water lines and drain your irrigation before the first frost. Any water left inside can freeze and crack them, and nobody wants to replace irrigation in the spring!
1. Save a few seeds before you cut
Saving seeds is a free way to grow more flowers next year, and it only takes a few minutes. Wait until the seed head turns brown, pull it off, drop it in a little organza bag and hang it in the house to dry. That’s it for now! Later on, you’ll separate the seeds from the rest of the dried flower head, but this is how it all starts. It’s that easy!
One heads up: saved seeds don’t always grow into the exact same flower next year. Here’s why:
Hybrid (the packet may say “F1”): saved seeds can grow into a totally different looking flower.
Open pollinated: saved seeds usually grow into the same flower. But bees mix pollen, so if you grow a few colors side by side, you might get a new color.
Either way, I think of those as garden surprises!
2. Pull your stakes and netting
Before I cut anything, I clear out the stakes and netting. First, I pull the stakes by rocking each one back and forth until it comes out. If a lot of stalks are still poking through the netting, I cut them with a hedge trimmer just above it. Then I roll the netting around a garden stake and save it for next year.
3. Cut it all down (yes, really)
It feels a little dramatic, but all of my annuals get cut right down at the end of the season (dahlias are the one exception, more on those below). I use a mix of tools: the mower, a hedge trimmer and loppers. Some stalks get really thick, like zinnias, and the mower just won’t cut through them. You’ll learn what works as you go! I leave the roots in the ground, because they break down over the winter and feed the soil. Less digging for me, better soil for next year. That’s a win.
If you have landscape fabric in your beds like I do, raise your mower deck high enough that it won’t damage the fabric.
Cutting everything down always feels like an ending, but it’s really how next season starts.
4. Dig your dahlias
Timing wise, this always works out to be the last bed I clear. In zone 5a, dahlia tubers won’t survive the winter in the ground, so they have to come up in the fall. I like to leave them in the ground for a few weeks after the first frost before I dig.
First, cut the stalks with loppers, leaving a few inches to grab onto. Then loosen the soil around the dahlia with a garden fork (careful not to hit the tubers!), lift the whole clump, shake off the dirt and let it dry a bit. The fun part? One tuber you planted in spring turns into a whole clump by fall. You’re telling me this will become this?!
One tip: label your dahlias before the first frost, while you can still tell them apart. (Hopefully you’ve done that already!) As for storage, I’m still figuring out my best method: storing the whole clump and dividing it later, or dividing it now. (Honestly, dahlia storage is a whole topic all on its own, so stay tuned for a future post!)
5. Get your beds ready for next season
What I do with each bed depends on what’s going in it next season.
Early spring beds (cool season, hardy annuals, planted around the end of March): I prep these now. I pull back the landscape fabric and water lines, add a fresh layer of compost, then put the lines and fabric back down and cover it all with a tarp.
Warm season beds (tender annuals, planted around Memorial Day): I pull back the fabric and lines and plant a cover crop.
Why prep the early beds now? They’re for cool season and hardy annuals, which go in when there may still be snow on the ground. And if there’s no snow, the ground is usually really wet, which is not ideal for working the soil. Getting it done in the fall means those beds are ready to go the minute it’s time to plant.
Starting a brand new bed for next year? Lay a tarp over the grass now. By spring the grass is gone, no digging required.
6. Plant your bulbs
Fall is tulip planting time, and it’s the best little gift to your spring self. I wrote a whole post on how I plant mine (and keep critters from eating them).
7. Write down what you learned
You’ll think you’ll remember which flowers were your favorites, which bed got the most sun, and what you planted way too much of. Same goes for this clean up: which tools worked, how long it took, and which beds you prepped for spring. You won’t. (Trust me.) Take ten minutes now and jot it all down while it’s fresh.
What can wait (and what can’t)
You don’t need a perfectly tidy garden by Thanksgiving. Your garden doesn’t need to look perfect to be ready for spring. (Let’s be honest, it’s not the prettiest time of year anyway. Everything is dead and bare!)
Short on time? Focus on the three jobs that can’t wait: getting the dahlias out, the tulips in, and your early spring beds prepped.
By early spring, we’re all just so ready for flowers, color and life again. Want to grow your own, but not sure where to start? I hear this from so many of you, and trust me, I’ve been there! My free guide, Your First Cut Flower Garden, walks you through it step by step.
Love ya, you’re doing great,
Amanda
